Friday, February 24, 2017

St. Patrick's Day Burlap Bunting Banner


My husband goes out of town often and while he's away I like to host girls' nights.  Usually everyone brings some food item and we all sit and chat, but this last time I decided to do a craft night and we all made St. Patrick's Day bunting banners.  I LOVE mine and wanted to share how we made them.

Supply List:
Gold Dot Burlap
Cream Burlap (or whatever other color you're wanting to use).
Green Paint
Green Yarn
Small Hole Punch
Painters Tape
Scissors or Rotary Cutter
Template (Click HERE for a template for the triangle and shamrock)

Just so you're aware the gold dot burlap is a bit more expensive than normal burlap.  On sale it was still $9/yard at Joanns.  Good thing you don't need too much for one bunting banner eh?  The triangles we made were about 7 1/4" tall and 6 1/2" wide to give you an idea of their size and how much fabric you need.

First you'll need to cut your triangles.  A little tip for cutting burlap in a straight line is to find one thread (in this case at 7 1/4") and pull it out.
 Then you're left with a perfectly straight light to cut along.  Amazing right?  You're welcome :)

After your triangles are cut, the next step is to paint your cream burlap.  I wanted a combo of stripes and shamrocks for mine, but feel free to mix it up and do whatever combo you want.  Total I had 6 gold dot triangles, 3 striped and 2 shamrock triangles.

For the shamrock, I simply printed it off on cardstock paper.  Used scissors to cut it out and then dabbed the paint on with a foam brush.  Make sure you have something under your fabric because the paint WILL go through to the other side.


Line your triangles up like this to save you some time and to make all of your stripes even.
 Using painters tape, make your stripes.  I had my painted lines 1" thick.  I found adding the tiiiiniest bit of water to the paint helped it go on a bit easier.
Allow the paint to dry and chat with your friends.  I also like to use a blowdryer to help speed up the drying process cause I'm impatient.


Using a small hole punch, put holes in the top two corners of the triangles.  Then thread the yard (you could also use twine or ribbon) through the holes.  Put a bit of tape at the end of your yard to help you get it through the holes.  I personally liked the look of having the green yard showing in front of the triangles, but you could put them behind if you prefer to hide it.


 Hang it and admire your cute adorable new decor!

Monday, January 23, 2017

DIY Spice Rack


I just finished making this spice rack and I gotta tell ya, I LOVE it!  Just looking at it on my counter makes me happy.  The most expensive part of this project was the glass jars and even then, they were quite affordable.  I ordered them from Hobby Lobby and got them when their glassware was 50% off.  The small jars were 65 cents each the middle jars were $1 and the large jars were $2.  I mean......how could I NOT buy a gazillion of them?!?  Here are the links to the jars I used.  I will warn you that the small jars aren't really perfect.  The opening is a bit small and the jar is slightly too small to fit an entire 3oz container of seasoning.  So that was a bit disappointing, but......for 65 cents they're perfect.


To make my spice rack I measured the space on my countertop to see just how big I could make my spice rack.  After all you don't want to build a shelf, go to set it up and realize it's too big.

These are the supplies I used:
1 - 1x6 8ft board
1 - 1x4 8ft board
1 1/2" finishing nails
Wood Glue
Clamps (If you have them)
Hammer
Sandpaper
Paint/Primer (I just bought a little sample size)


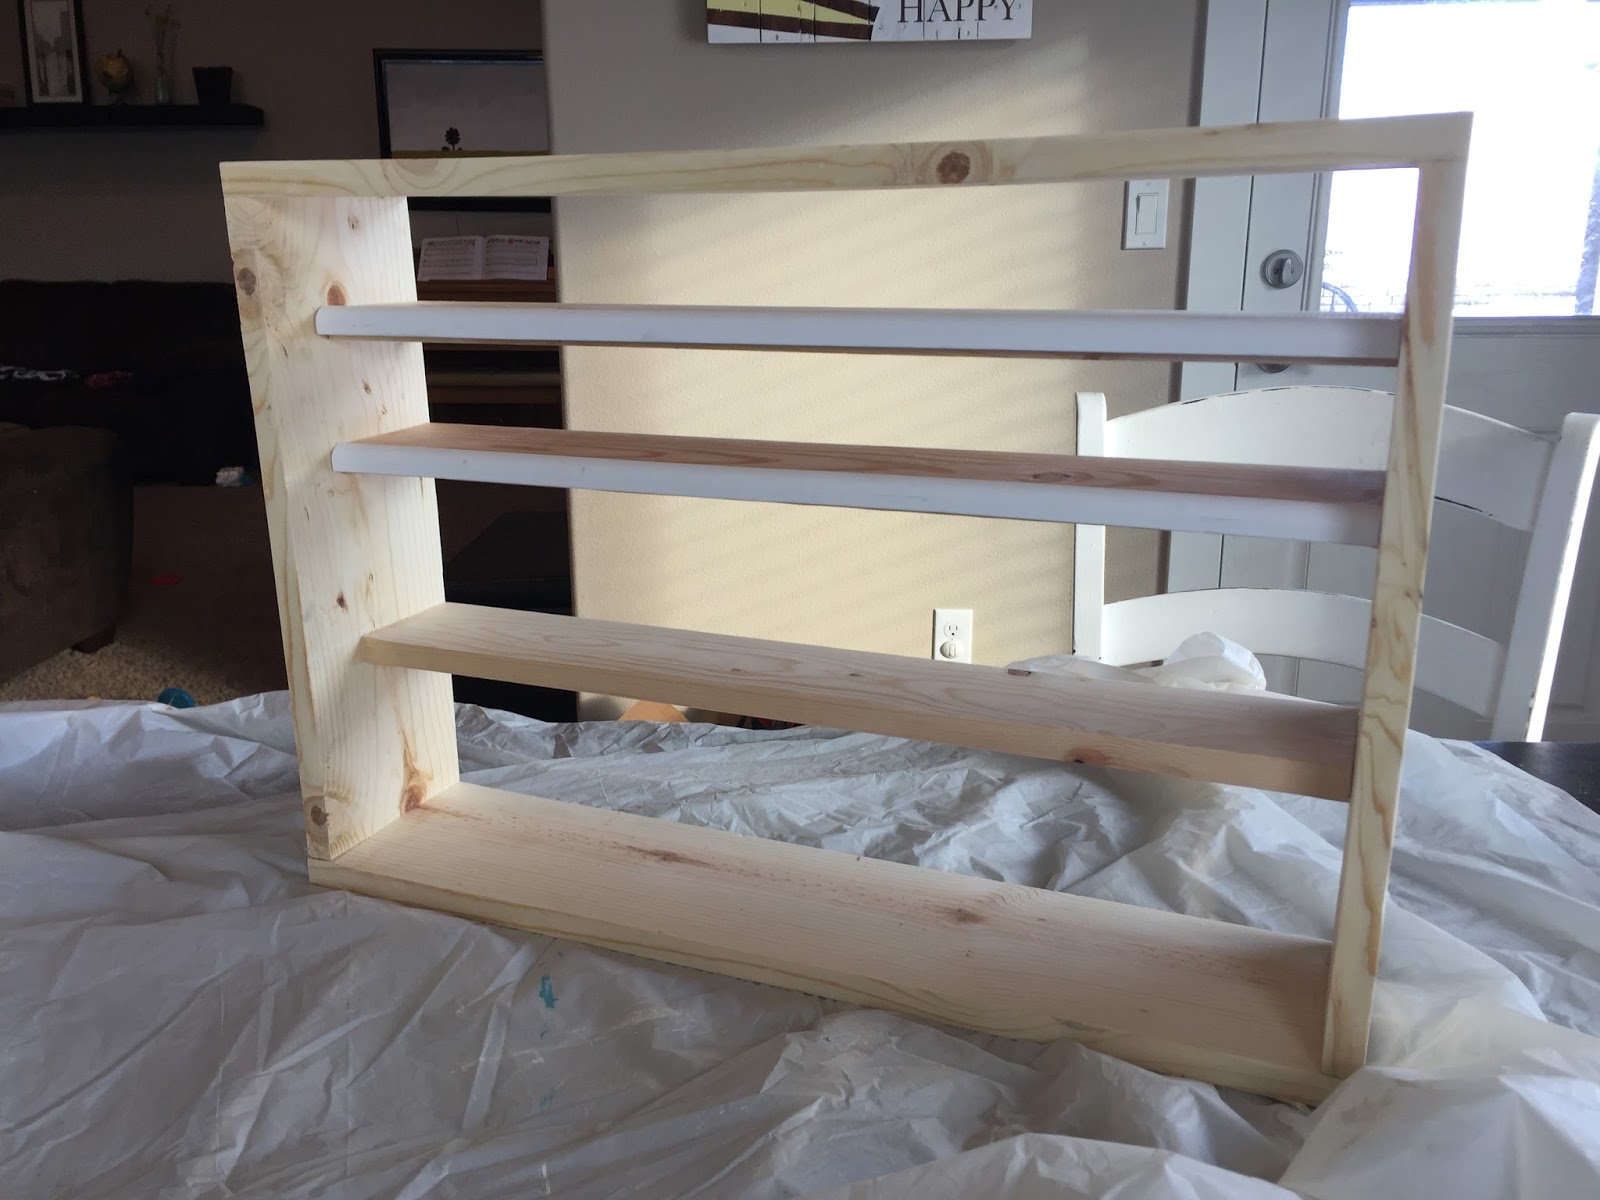
I used my 1x6 boards as the frame of my shelf.  I cut them to size and then used wood glue and finishing nails to put it together.  Clamps help to hold them in place, but aren't necessary.


I set my jars up so figure out where my shelves needed to be.


I attached the shelves once again using wood glue and finishing nails.


Due to height restrictions, my small jars couldn't stand up straight.  With them having to be laid down, I knew they could just roll off so I needed some sort of lip.  I had some little molding in my garage that I cut to size and attached to the front of the top two shelves leaving about 1/4" sticking up as my lip.


Then I just sanded and painted my shelf.

Then all that was left to do was label and fill the spice jars.  Black chalk stickers are adorable, but so expensive AND I don't have fancy handwriting, so instead of using those, I bought these full label sheets from Walmart and decided to print my own stickers.
I bought this Fiskars paper punch from Joanns.  It was 30% off and I had a coupon for 20% off my whole order.  WIN!
This is where it's nice to have Photoshop.  I cut some colored paper and with my punch and scanned them onto my computer.  I used those scans to create a template in Photoshop (making sure to add plenty of bleed).  Then I added the names of the spices, printed the labels and punched them out.  You'll notice some of the larger shapes have small text.  Those were used for the small labels, I just didn't want to mess with the template.

Then I added the labels to the jars and filled them with spices.  Set them all up in my new spice rack and admired the beauty.


Friday, January 6, 2017

Pork Carnitas with Apple Salsa and Lime Sour Cream

You guys, this meal was phenomenal!  You NEED it in your life.

For the pork carnitas I used this pressure cooker recipe by We Call Him Yes Chef

I did make a couple of modifications to his recipe.  Rather than cutting the pork into 2" pieces, I cut my 3.5lb pork shoulder into 4-5 large chunks.  I seared then on the saute setting on my instant pot and then I cooked it on manual for 45 minutes and then did NPR (natural pressure release).  I made these changes because I wanted my meat nice and shredded rather than in chunks.  I'm sure you could also do this recipe in a slow cooker and do it in 6-8 hours.

The thing that really MADE this dish was the apple salsa.  I know, it sounds weird, but trust me - it's amazing!  Here's my recipe for the apple salsa:

Ingredients
- 1 poblano pepper
- 5 sweet peppers
- 3 green onions
- 1-2 granny smith apples - peeled, cored and chopped
- 1 lime
- 3 Tbs or more chopped cilantro (base it off your liking)

Instructions
Cut the green tops off of the green onions.  Slice peppers in half lengthwise.  Place peppers cut side down.  Drizzle with olive oil and season with salt and pepper.  Roast at 475 for 12 minutes.  Once the peppers are cool enough to handle, remove the skins and seeds and mince them.  Check the heat of your poblano pepper, generally they are mild, but every so often you'll get a HOT one.  Chop the white part of the green onions making sure to discard the root ends.

Add peppers and green onions to a bowl.  Add granny smith apples, the juice of 1 lime and the chopped cilantro.  Stir until well combined.  Season with salt and pepper.


I also made lime sour cream for the carnitas.  I simply mixed 1/4 cup light sour cream with the juice of a quarter of a lime.  Easy peasy, but delish.

Serve carnitas with additional lime wedges and top with more cilantro because you can never have enough cilantro.

This is my recipe I use for the Mexian Rice.  It is so so easy and so so good.  I double the recipe so I don't waste the tomato sauce: http://allrecipes.com/recipe/27072/mexican-rice-ii/

Enjoy!!!