


I just finished making this spice rack and I gotta tell ya, I LOVE it! Just looking at it on my counter makes me happy. The most expensive part of this project was the glass jars and even then, they were quite affordable. I ordered them from Hobby Lobby and got them when their glassware was 50% off. The small jars were 65 cents each the middle jars were $1 and the large jars were $2. I mean......how could I NOT buy a gazillion of them?!? Here are the links to the jars I used. I will warn you that the small jars aren't really perfect. The opening is a bit small and the jar is slightly too small to fit an entire 3oz container of seasoning. So that was a bit disappointing, but......for 65 cents they're perfect.


To make my spice rack I measured the space on my countertop to see just how big I could make my spice rack. After all you don't want to build a shelf, go to set it up and realize it's too big.
These are the supplies I used:
1 - 1x6 8ft board
1 - 1x4 8ft board
1 1/2" finishing nails
Wood Glue
Clamps (If you have them)
Hammer
Sandpaper
Paint/Primer (I just bought a little sample size)
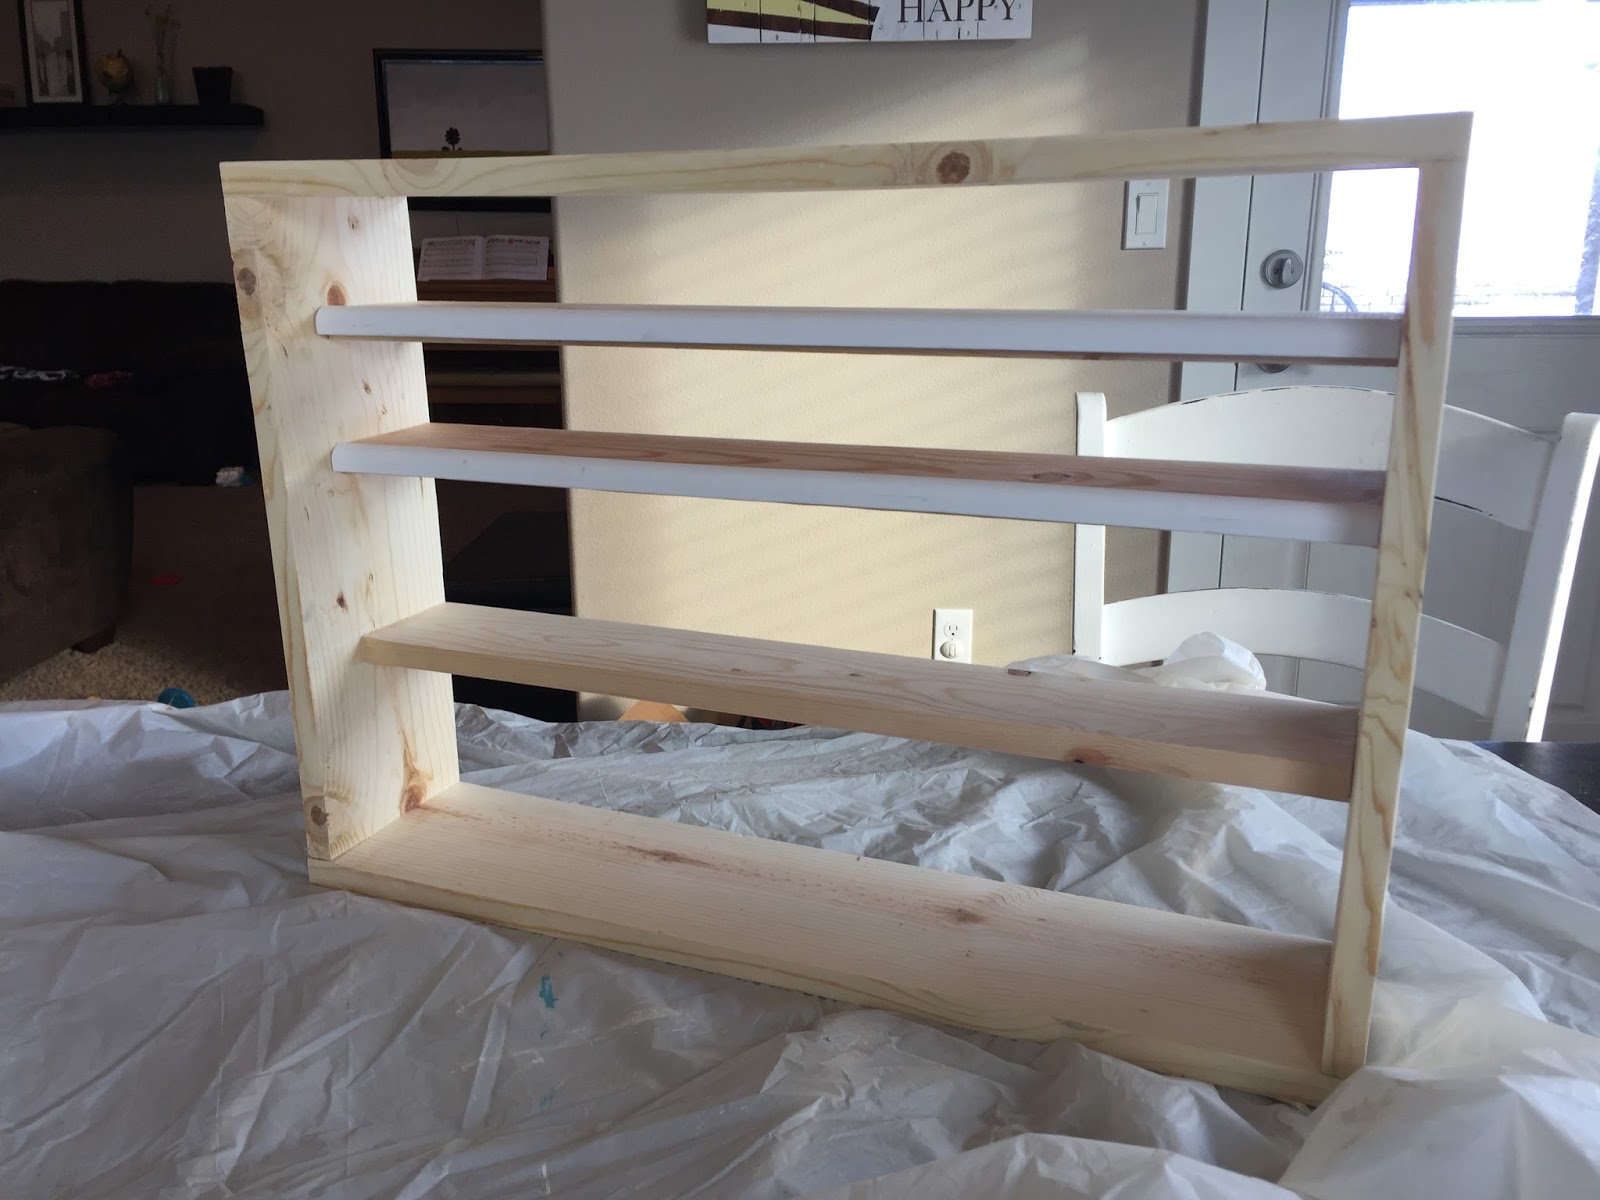
I used my 1x6 boards as the frame of my shelf. I cut them to size and then used wood glue and finishing nails to put it together. Clamps help to hold them in place, but aren't necessary.

I set my jars up so figure out where my shelves needed to be.

I attached the shelves once again using wood glue and finishing nails.

Due to height restrictions, my small jars couldn't stand up straight. With them having to be laid down, I knew they could just roll off so I needed some sort of lip. I had some little molding in my garage that I cut to size and attached to the front of the top two shelves leaving about 1/4" sticking up as my lip.
Then I just sanded and painted my shelf.
Then all that was left to do was label and fill the spice jars. Black chalk stickers are adorable, but so expensive AND I don't have fancy handwriting, so instead of using those, I bought these full label sheets from Walmart and decided to print my own stickers.

I bought this Fiskars paper punch from Joanns. It was 30% off and I had a coupon for 20% off my whole order. WIN!

This is where it's nice to have Photoshop. I cut some colored paper and with my punch and scanned them onto my computer. I used those scans to create a template in Photoshop (making sure to add plenty of bleed). Then I added the names of the spices, printed the labels and punched them out. You'll notice some of the larger shapes have small text. Those were used for the small labels, I just didn't want to mess with the template.


No comments:
Post a Comment